Saboteer model
The Saboteer design is a Glen-L version of the Sabot pram dingywhich has been enlarged from just under 8 feet to about 9.5 feet long overall.
----------------------
I made this model to have a better three dimension idea of what the finished boat would look like
and also to get an idea of what the plywood layout might look like for the sides and bottom.
Since this boat is longer than 8 feet these pieces will have to be scarfed or butt jointed together.
I would rather scarf the plywood before cutting the pieces out and cut out the 2 sides from an already scarfed together board,
likewise for the 2 parts of the shallow V bottom.
 -
-
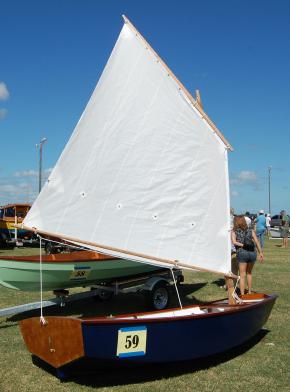
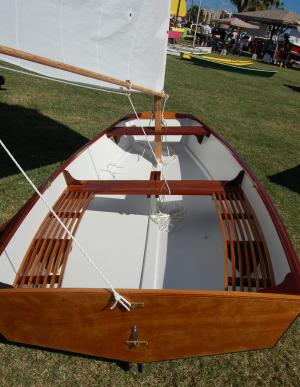
A Saboteer exhibited at the plyWooden Boat Fest in Port Aransas, TX
This one does uses a lug sail rather than the original marconi recommended sail plan
~ ~ ~ ~ ~ ~ ~ ~ ~ ~ ~
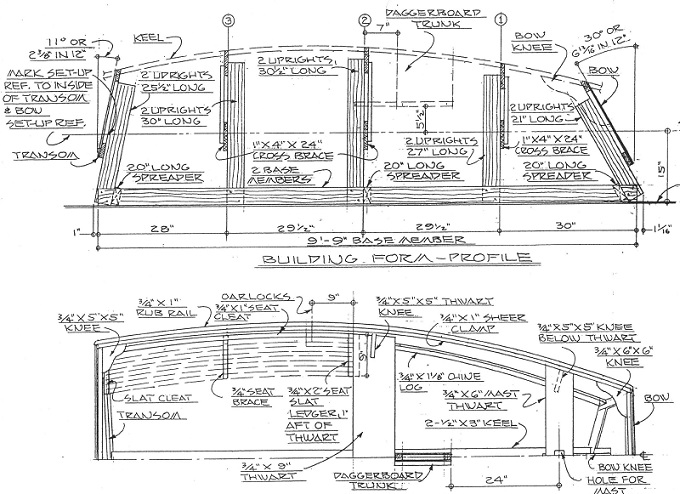
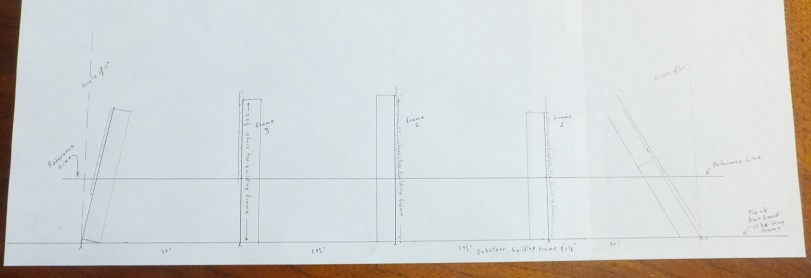
planning out the building base for the model
Scale is 1.5 inches to the foot - - or 1/8 inch = 1 inch
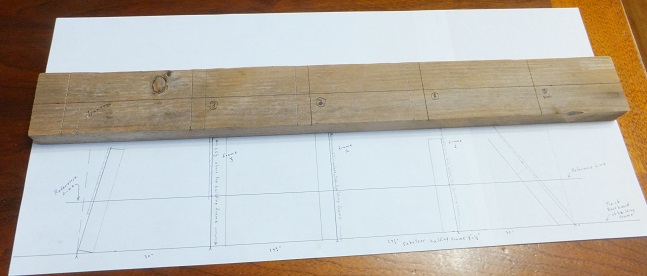
The bow and stern transoms and 3 frames were drawn out at a 1/8 inch to 1 inch scale.
Then that was scanned and printed out on heavy paper.
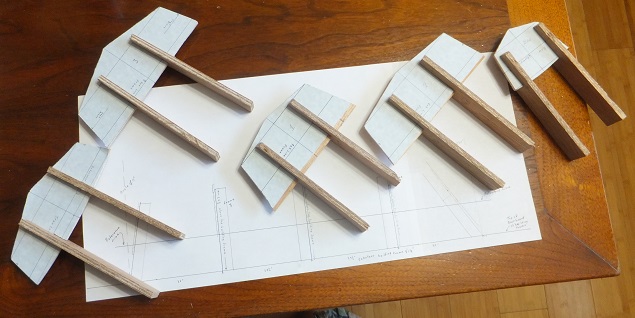
The paper printouts were cut out and stuck to 1/8 inch plywood with double stick tape.
The construction level line (raised waterline) was drawn on the transoms and frames.
Notches were cut in the frames and in the frame supports so they could be properly supported.
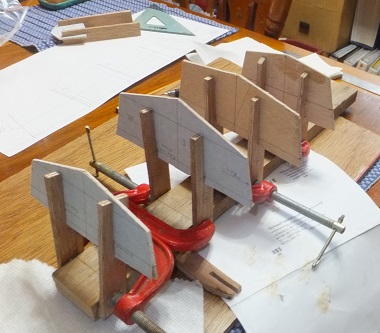
Frame supports fixed. Number 3 was not properly in place.
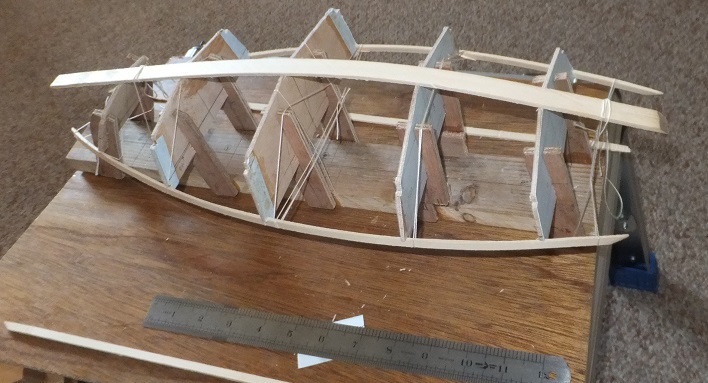
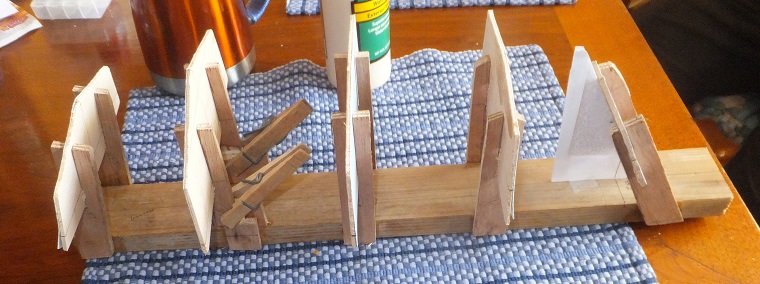
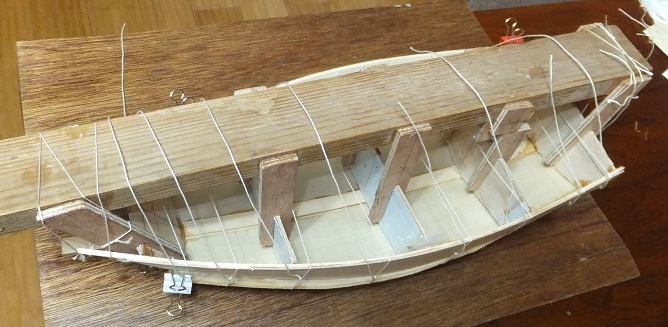
Inner Keel and Sheer clamps (gunwales) in place. Note the use of string to hold them in place.
They are only glued to the bow and stern transome pieces.
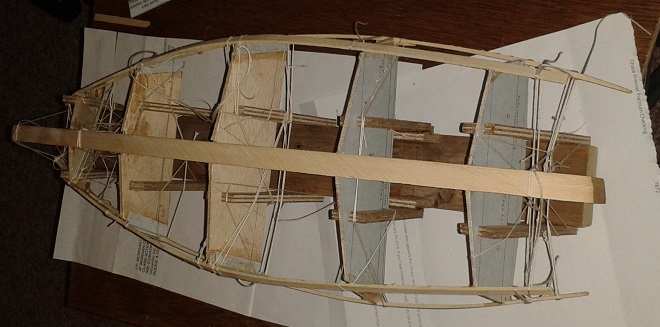
Chines attached. Much use of string to hold all in place.
Only glued at transoms.
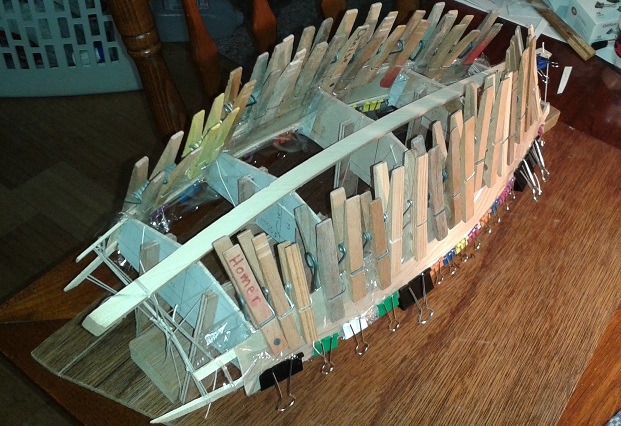
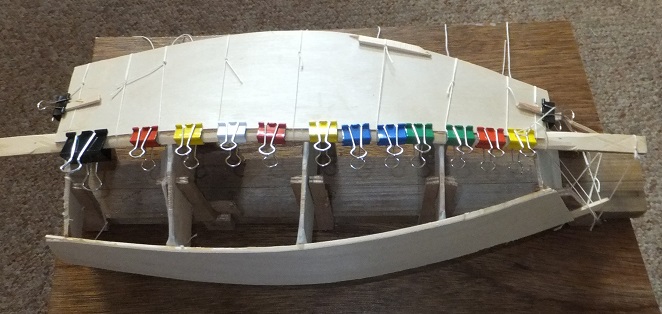
It takes a lot of clamps to hold the sides to the chines, sheer clamps and transoms.
Clothes pins, and small binder clamps.
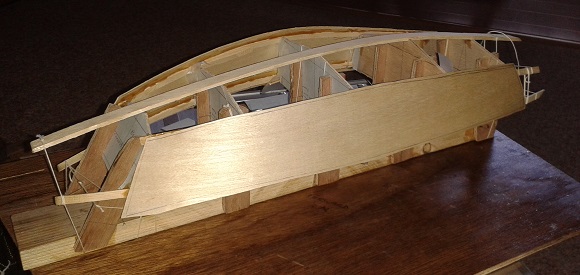
Sides on. clamps off. Extra tie down strings removed.
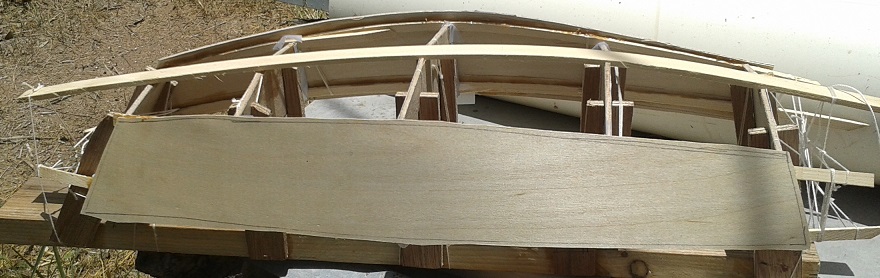
Sides rough before trim.
The edges of the sides and the inner keel were shaped on a stationary sanding machine
in preparation for putting on the bottom panels.
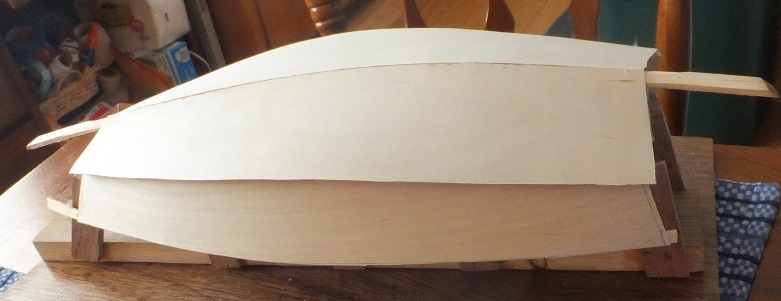
Starboard bottom glued - clamped and since there is no clamping surface on the chine side
tied across to bring that chine side down.
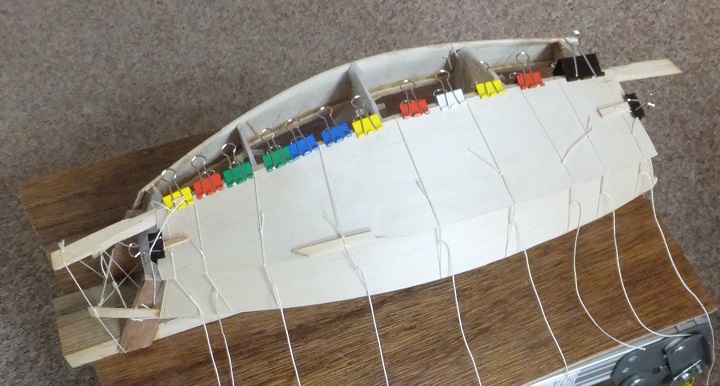
~ ~ ~
Port side bottom
Port side bottom glued and tied down with clamps at ends holding the tie down strings in.
Inside glued and tied.
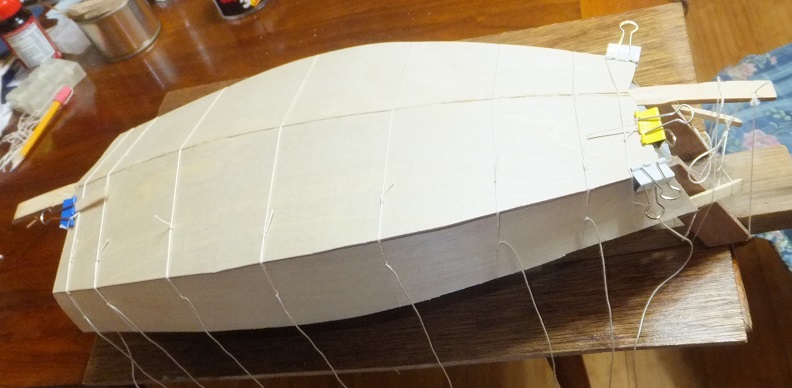
Skin on - ties off - ready to trim
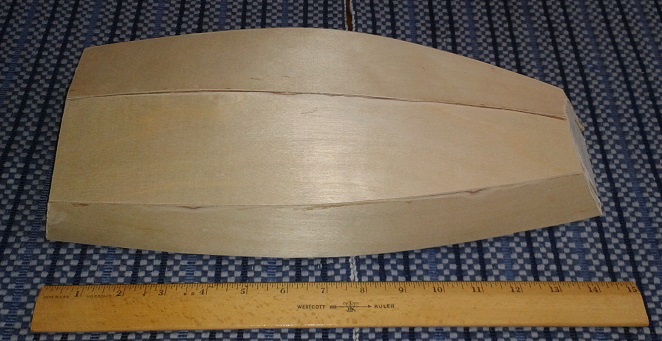
Basic hull done
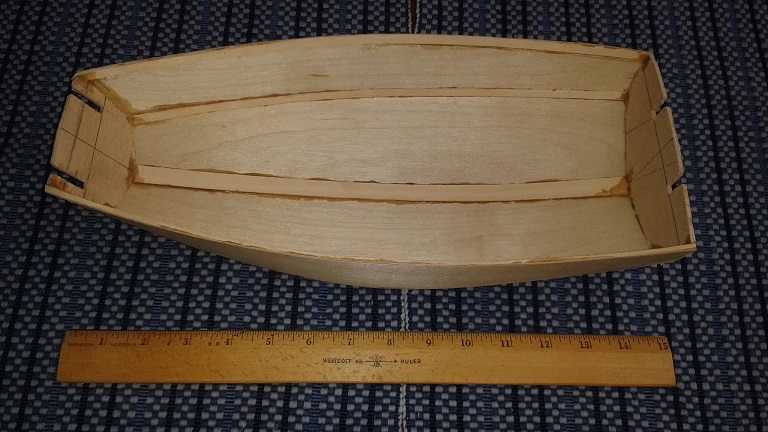
The hull of the model, off the building jig and with the edges power sanded.
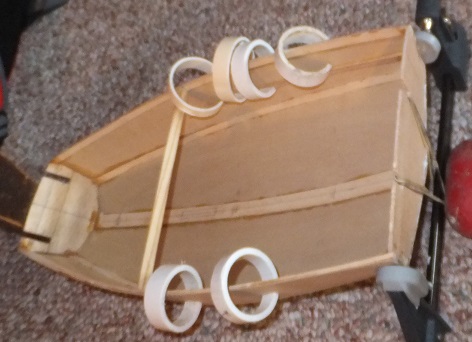
gluing the inner rail which supports the thwart (seat)
using slices of pvc pipe for clamps
~ ~ ~ ~ ~ ~ ~ ~ ~ ~ ~ ~ ~
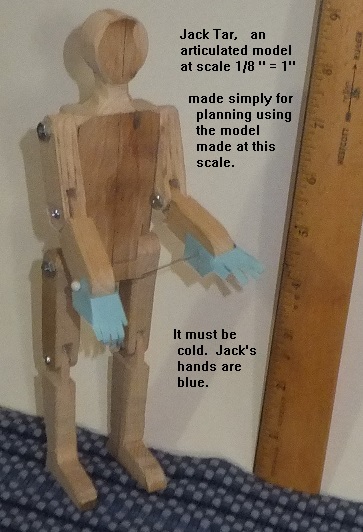
Jack Tar an articulated model Created at the same scale as the Saboteer model.
He is 5 ft 10 inches at the one and a half inch to the foot scale.
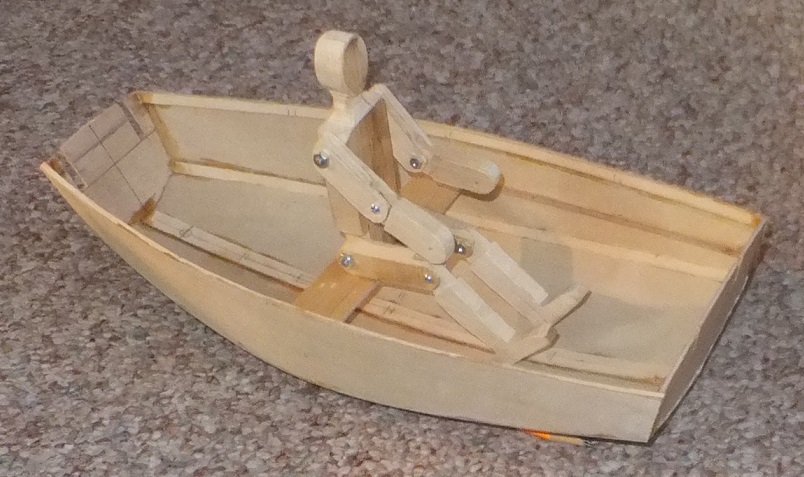
Jack Tar seated in rowing position (no hands)
~ ~ ~ ~ ~ ~ trying out various SAIL types and sizes ~ ~ ~ ~ ~ ~ ~
First try SPRIT sail.
Mast step, Mast partner, Boom and tall Mast, rear thwart, aft corner braces, and traveler added.
Yes, next to the mast there are toothpick belaying pins.
Mast is overly tall to accomodate trying out various sail plans.
This sail is very likely too small for the hull size.
~ ~ ~ ~ ~ ~

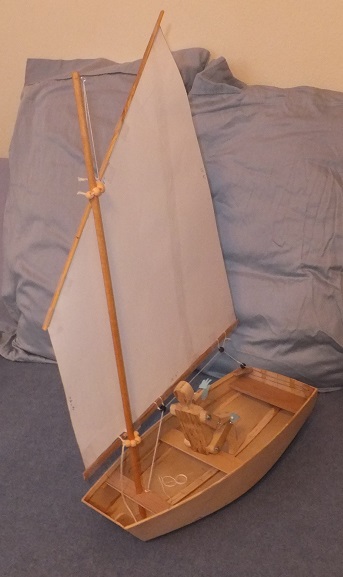
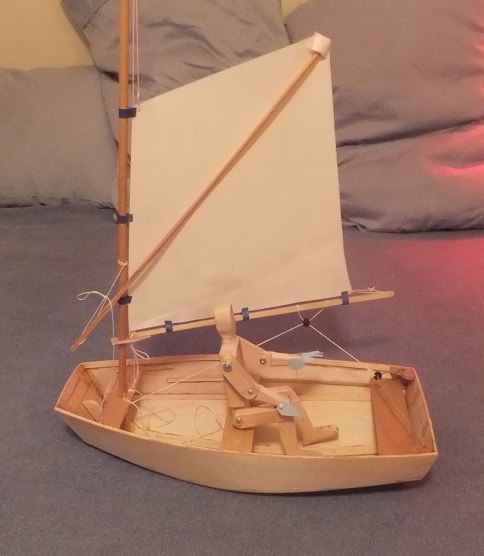
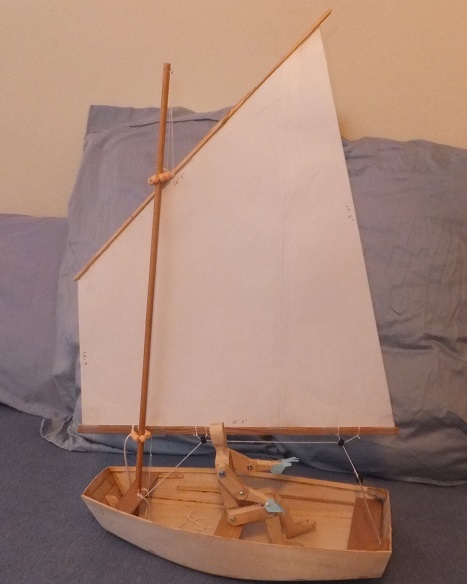
Sail this time is a LUG sail.
It is also much larger and is in fact sized the same as a sail I already own.
It might be slightly too large for the hull size, but the actual sail has 2 sets of reef points,
which would allow setting it to a better size for this hull.
- - 1 August 2016 - -
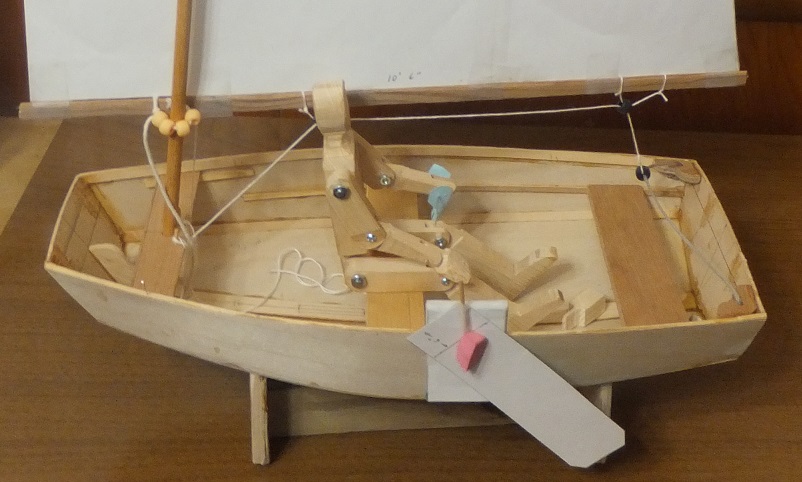
Pivoting Leeboard
base clamps on side and the leeboard blade, which is fastened to the base, pivots as needed.
The whole system is easily removable from the hull. - done 20 Nov. 2016
- more to come -
full sized Saboteer build web page
Boat Building Index page